Advance/online tickets are highly recommended. buy tickets
Summer Hours
7 days a week, 9:00am-4:00pm
**On the first Saturday of each month, the Museum opens at 10:00am.
adults: $24 children (1 – 15): $24 infants (under 12 months): FREE members: FREE Get Tickets! →
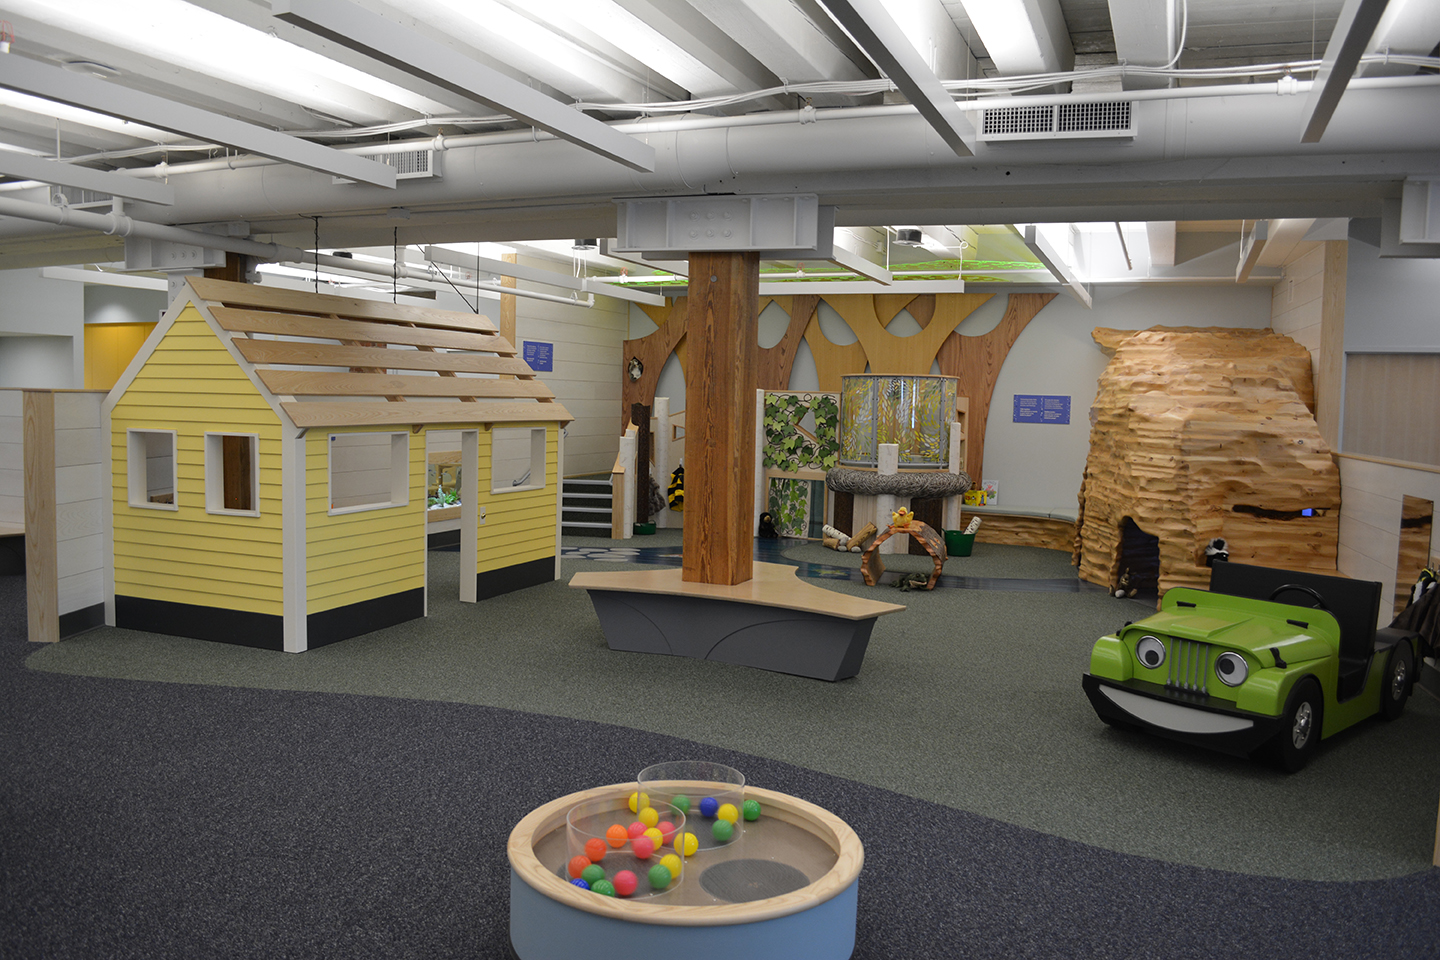
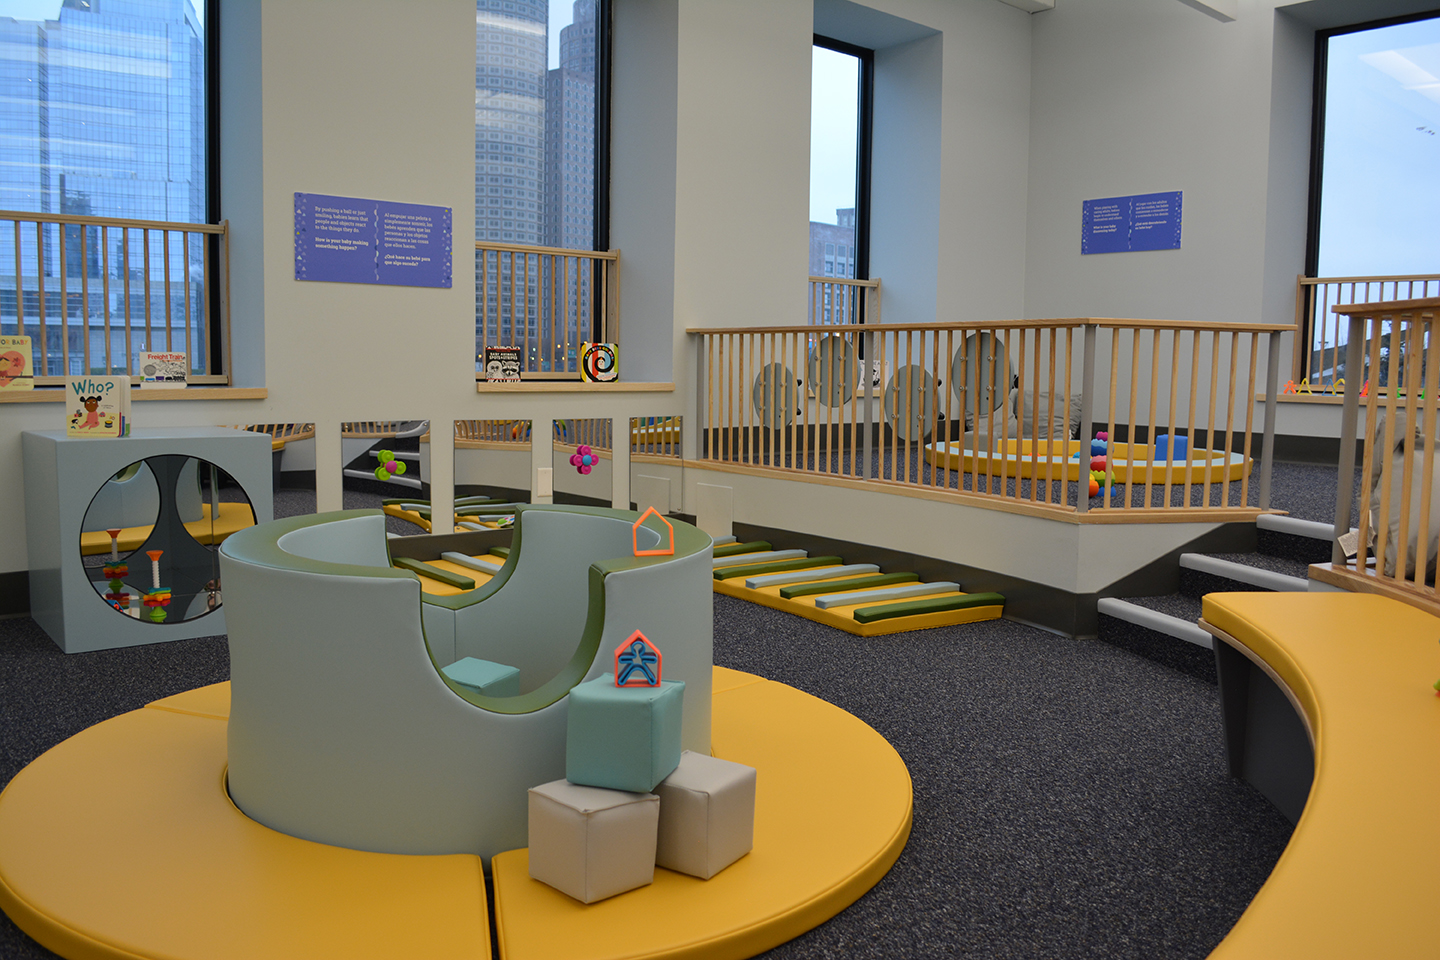
Check out our award-winning exhibits and programs designed for children and families.
Check out our award-winning exhibits designed for children and families.
Encompassing science, culture, the arts, literacy, the environment, health, and more – our programs make learning fun for everyone.
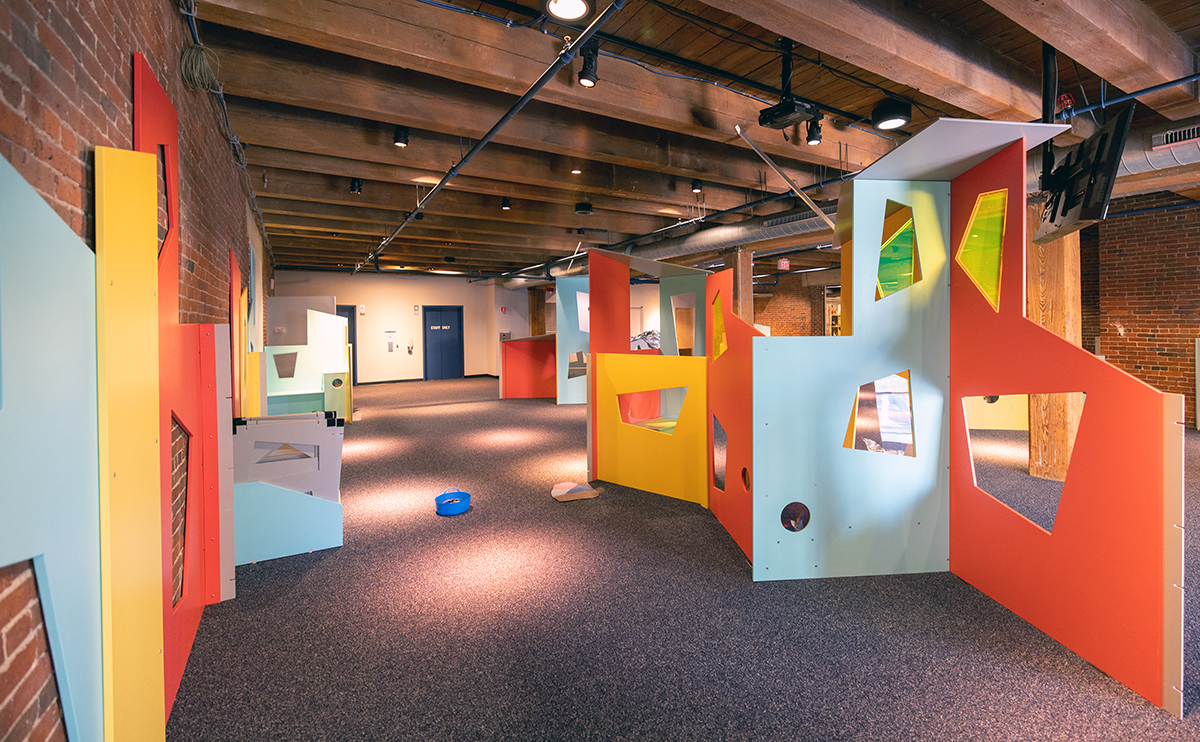
Engaging kids in the excitement of STEAM (science, technology, engineering, art, math) subject matter by making it fun and informal.
Play and learning resources for families to support your child’s continuous discovery.
Explore field trip opportunities, classroom programs, and professional development opportunities.
Hundreds of free, educator-designed afterschool activities for teachers and parents.
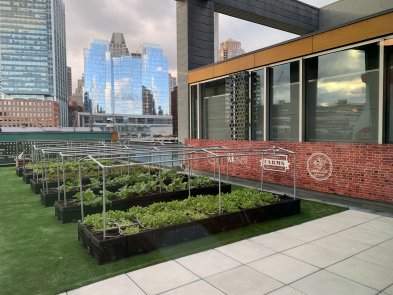
Explore and engage with the museum’s authentic 100-year-old house from Kyoto, Japan.
A growing library of playful, hands-on activities to try at home with kids.
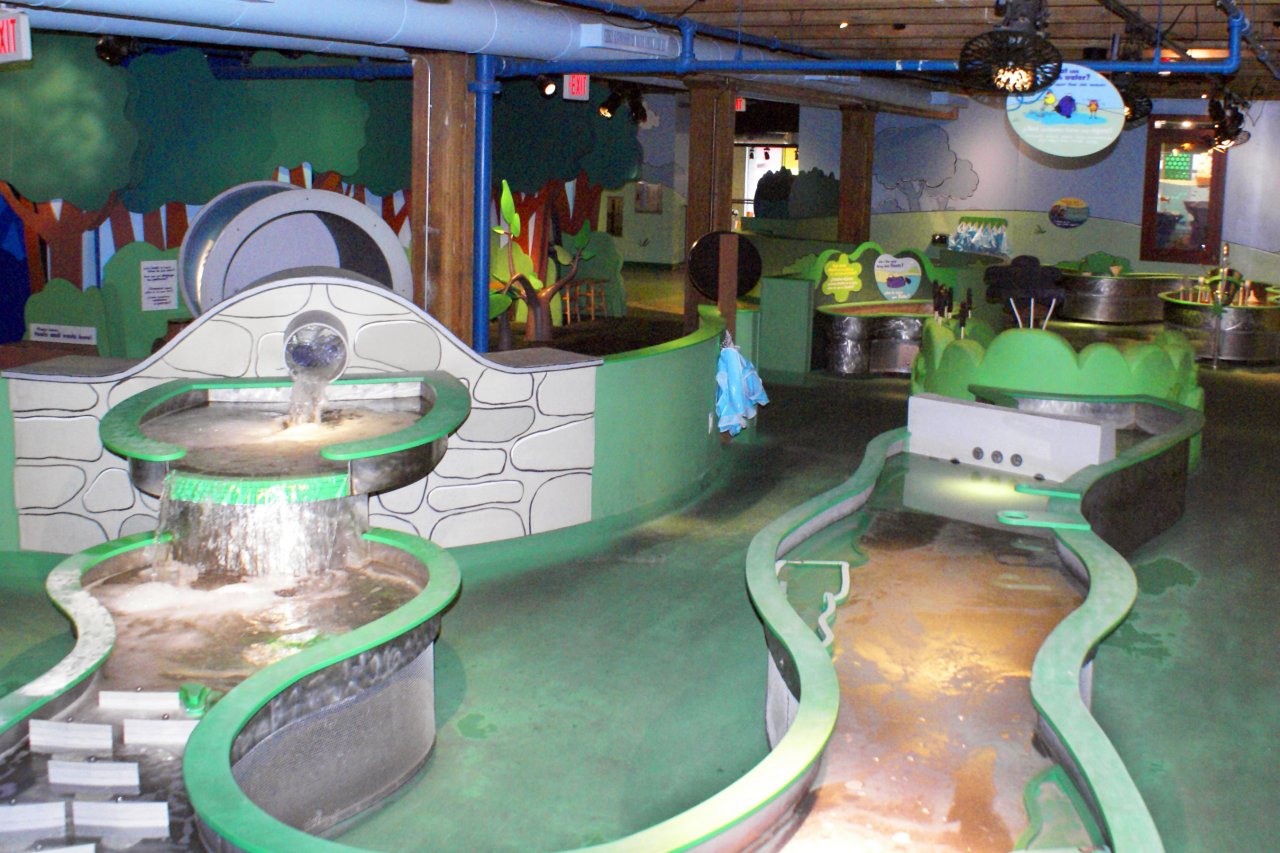
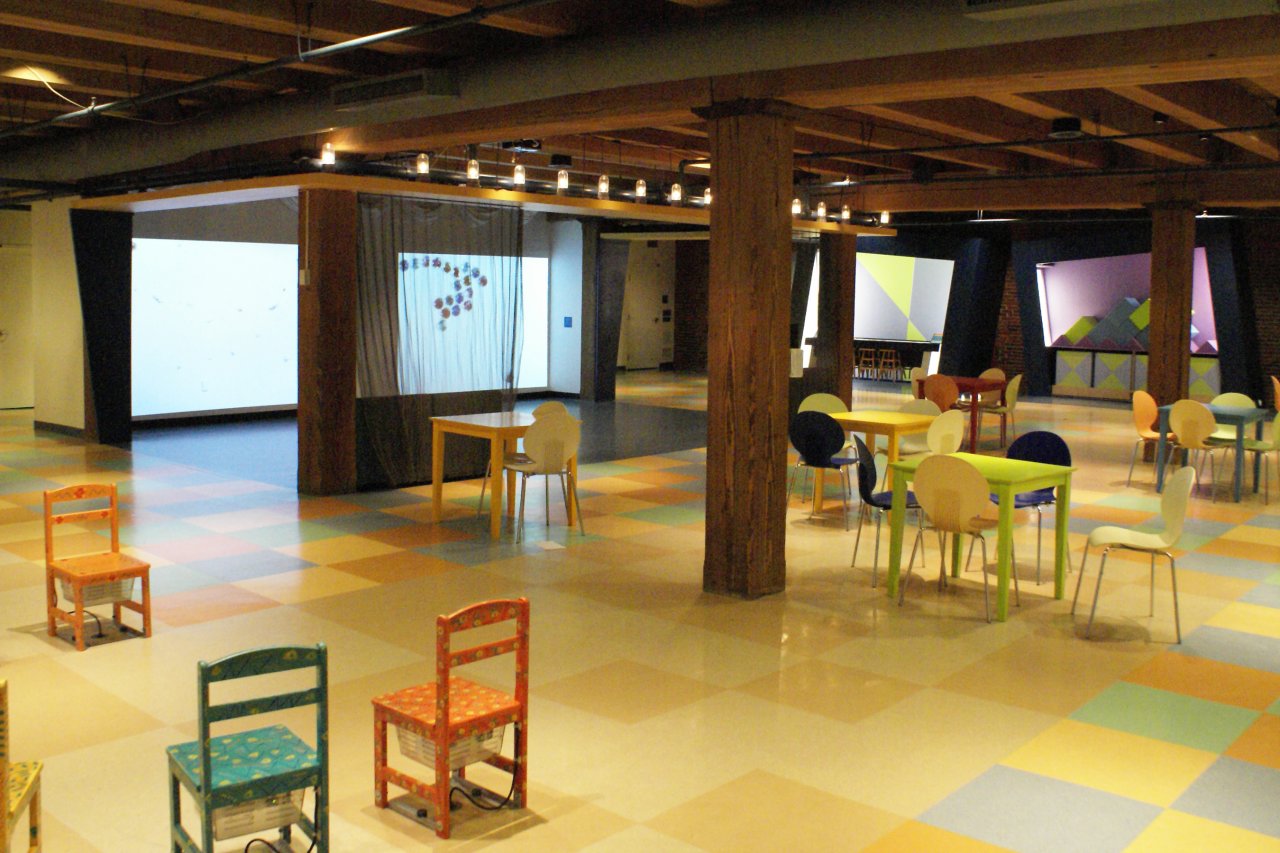
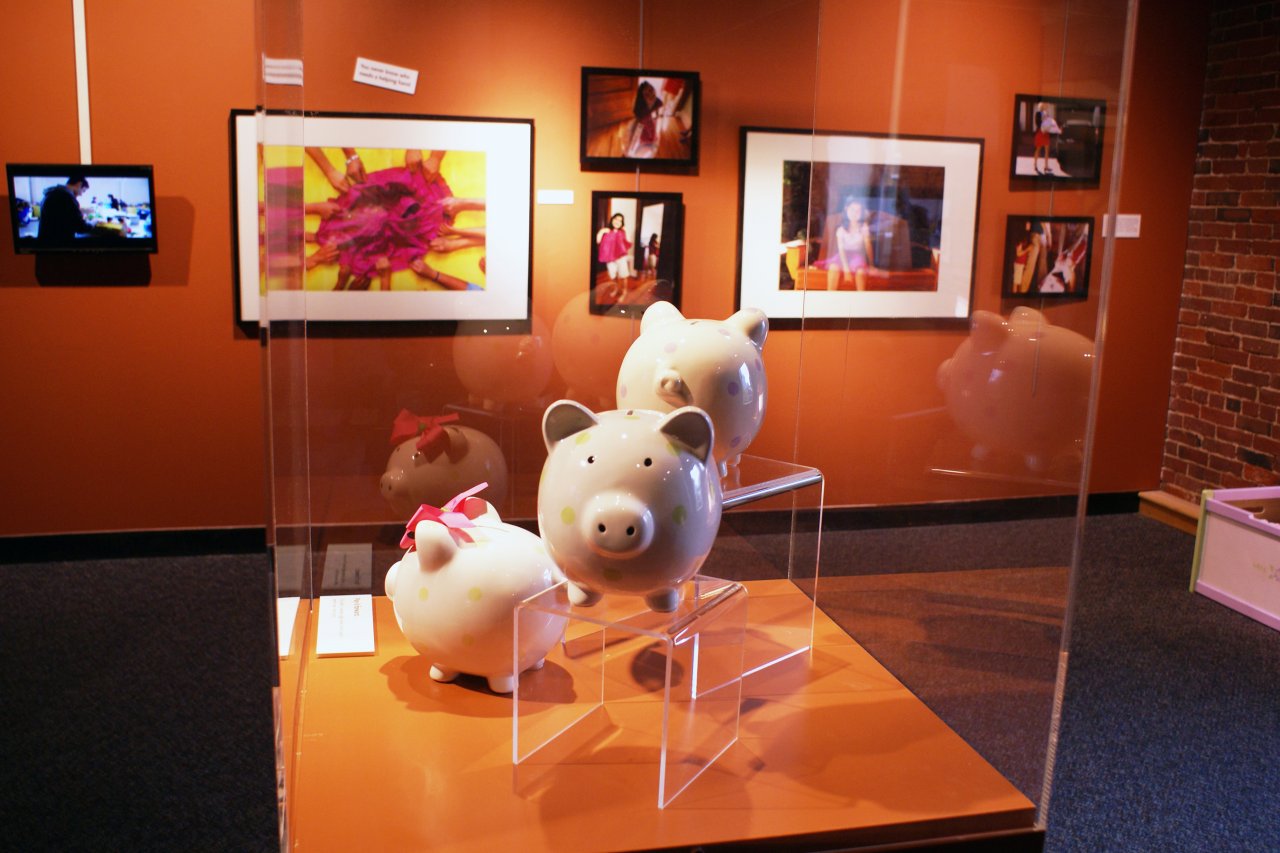
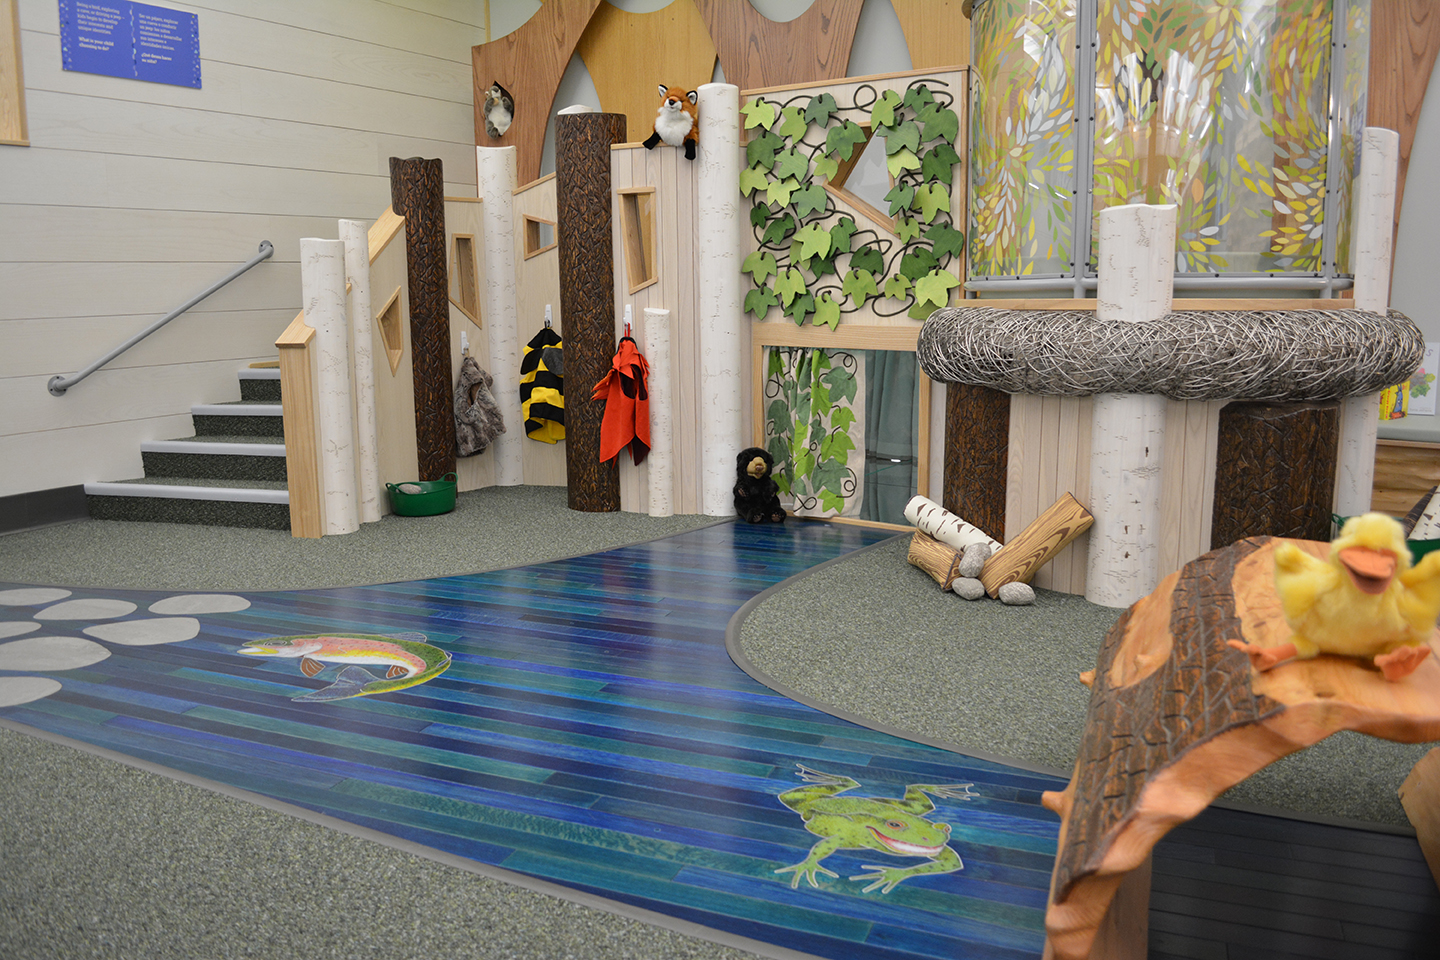
Back to Floor Plan | View 1st Floor Photo Gallery | View 3rd Floor Photo Gallery